@flowgram.ai/free-auto-layout-plugin
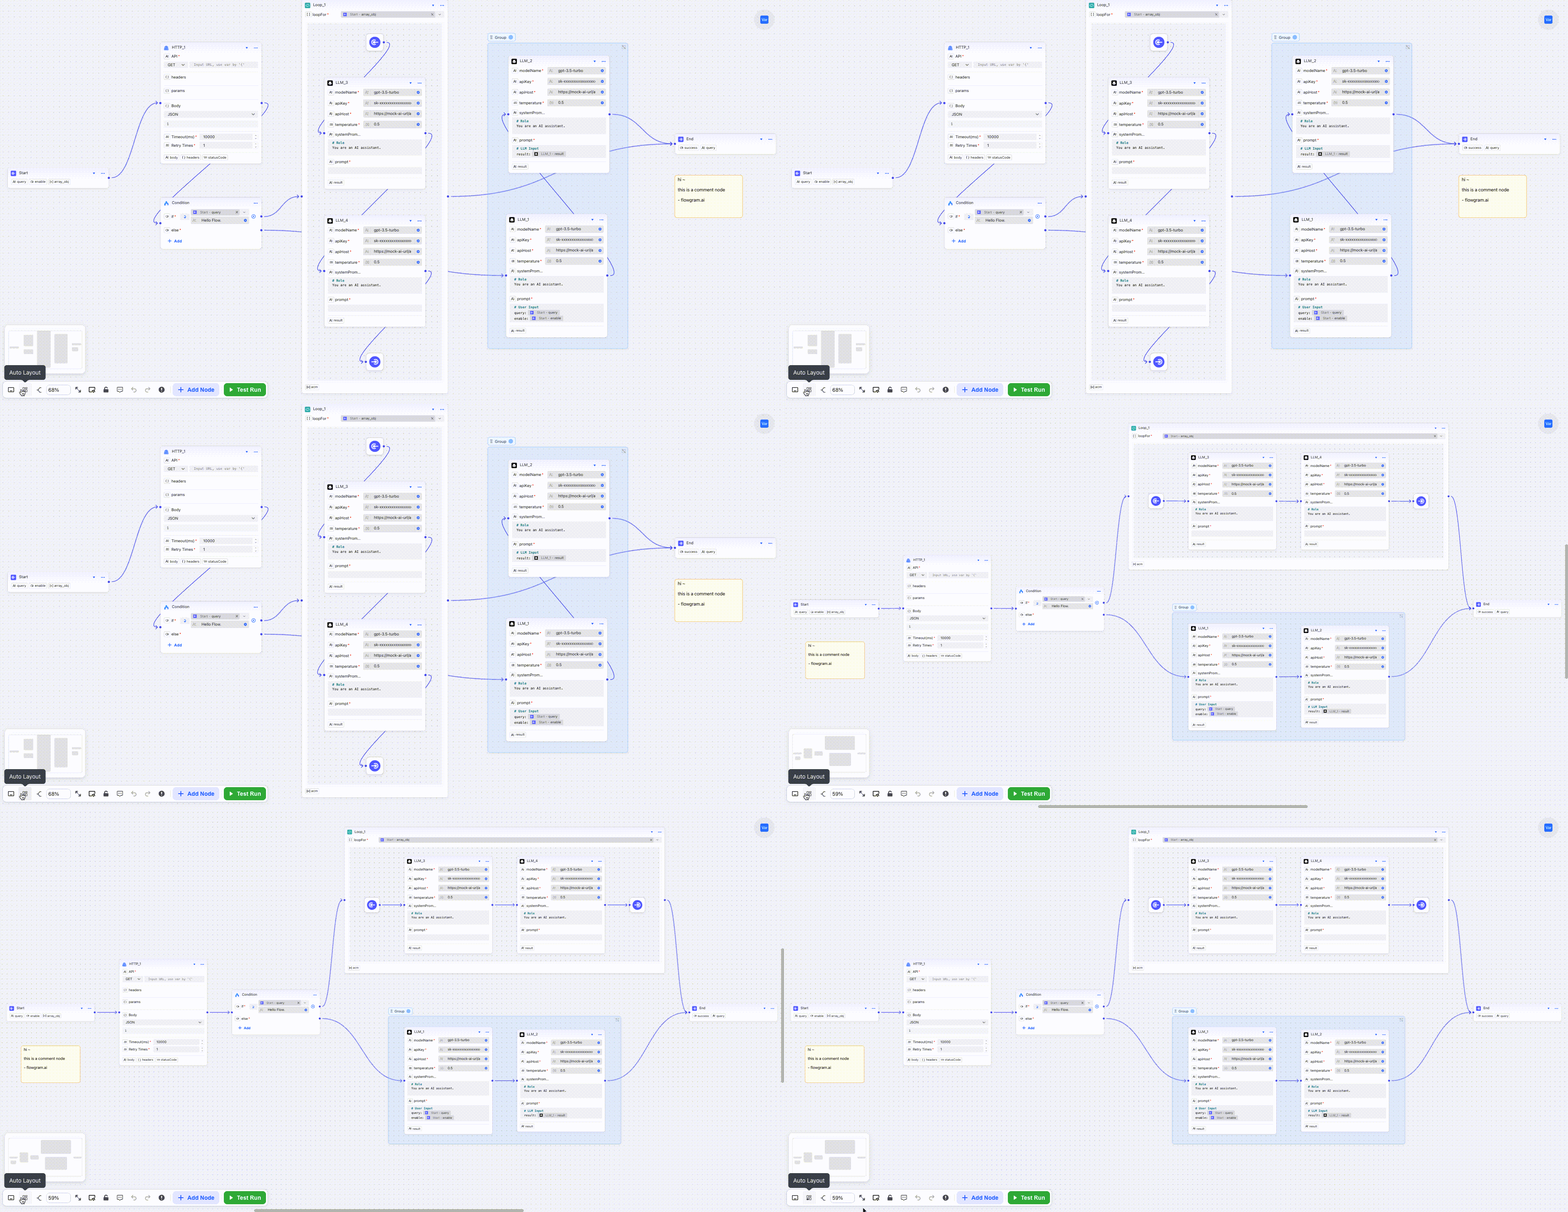
An automatic layout plugin based on the Dagre algorithm that provides intelligent node arrangement functionality for free layout canvases.
Features
- Based on Dagre directed graph layout algorithm, automatically calculates optimal node positions
- Supports multiple layout directions (left-to-right, top-to-bottom, etc.)
- Configurable node spacing, margins, and other layout parameters
- Supports recursive layout for nested containers
- Provides animation effects and view adaptation functionality
- Integrates with history system, supports undo/redo operations

Quick Start
- Installation
npm install @flowgram.ai/free-auto-layout-plugin
- Register Plugin
The plugin registration method is basically the same as other flowgram plugins. Just ensure not to create duplicates and pass it to the corresponding FreeLayoutEditorProvider.
import { createFreeAutoLayoutPlugin } from '@flowgram.ai/free-auto-layout-plugin';

const editorProps = useMemo(() => ({
  plugins: () => [
    createFreeAutoLayoutPlugin({
      layoutConfig: {
        rankdir: 'LR', // Layout direction: left to right
        nodesep: 100,  // Node spacing
        ranksep: 100,  // Rank spacing
      }
    })
  ]
}), []);

return (
  <FreeLayoutEditorProvider {...editorProps}>
    <EditorRenderer />
  </FreeLayoutEditorProvider>
)
- Use in React Components
You can also trigger auto layout in components using utility classes:
import { WorkflowAutoLayoutTool } from '@flowgram.ai/free-layout-editor';

const AutoLayoutButton = () => {
  const tools = usePlaygroundTools();
  const playground = usePlayground();

  const handleAutoLayout = async () => {
    await tools.autoLayout({
      enableAnimation: true,      // Enable animation effects
      animationDuration: 1000,     // Animation duration
      disableFitView: false,      // Auto fit view after layout
    });
  }

  return (
    <button onClick={handleAutoLayout}>
      Auto Layout
    </button>
  );
};
- Use Auto Layout Service
Execute layout by obtaining AutoLayoutService instance through dependency injection:
import { AutoLayoutService } from '@flowgram.ai/free-auto-layout-plugin';

class MyLayoutService {
  @inject(AutoLayoutService)
  private autoLayoutService: AutoLayoutService;

  async performAutoLayout() {
    await this.autoLayoutService.layout({
      enableAnimation: true,      // Enable animation effects
      animationDuration: 1000,     // Animation duration
      disableFitView: false,      // Auto fit view after layout
    });
  }
}
Configuration Options
LayoutConfig
Configuration parameters for the layout algorithm:
interface LayoutConfig {
  /** Layout direction */
  rankdir?: 'TB' | 'BT' | 'LR' | 'RL';
  /** Alignment */
  align?: 'UL' | 'UR' | 'DL' | 'DR';
  /** Node separation within same rank */
  nodesep?: number;
  /** Edge separation */
  edgesep?: number;
  /** Rank separation */
  ranksep?: number;
  /** Horizontal margin */
  marginx?: number;
  /** Vertical margin */
  marginy?: number;
  /** Cycle removal algorithm */
  acyclicer?: string;
  /** Ranking algorithm */
  ranker?: 'network-simplex' | 'tight-tree' | 'longest-path';
}
LayoutOptions
Options for layout execution:
interface LayoutOptions {
  /** Container node, defaults to root node */
  containerNode?: WorkflowNodeEntity;
  /** Function to get follow node */
  getFollowNode?: GetFollowNode;
  /** Disable auto fit view */
  disableFitView?: boolean;
  /** Enable animation effects */
  enableAnimation?: boolean;
  /** Animation duration (milliseconds) */
  animationDuration?: number;
  /** Node filter function to control which nodes participate in layout calculation */
  filterNode?: (params: { node: WorkflowNodeEntity; parent?: WorkflowNodeEntity }) => boolean;
}
Layout Algorithm
Dagre Algorithm
The plugin is implemented based on the Dagre library, which is a JavaScript library specifically designed for directed graph layout. Algorithm features:
- Hierarchical Layout: Organizes nodes into different levels based on dependency relationships
- Minimize Crossings: Attempts to minimize line crossings
- Even Distribution: Evenly distributes nodes while satisfying constraints
Layout Process
- Graph Construction: Converts workflow nodes and connections into Dagre graph structure
- Rank Calculation: Calculates levels (ranks) based on node dependencies
- Order Optimization: Optimizes node order within each level to reduce crossings
- Position Calculation: Calculates final coordinate positions for each node
- Animation Execution: If animation is enabled, smoothly transitions to new positions
Advanced Usage
Custom Follow Node
You can customize node following relationships through the getFollowNode function:
const layoutOptions: LayoutOptions = {
  getFollowNode: (node: LayoutNode) => {
    // Return the node ID that should follow the current node
    if (node.flowNodeType === 'comment') {
      return getNearestNode(node);
    }
    return undefined;
  }
};
await tools.autoLayout(layoutOptions);
Node Filtering
You can control which nodes participate in layout calculation through the filterNode function:
const layoutOptions: LayoutOptions = {
  filterNode: ({ node, parent }) => {
    // Filter out specific types of nodes
    if (node.flowNodeType === 'comment') {
      return false;
    }

    // Filter based on parent node conditions
    if (parent && parent.flowNodeType.type === 'group') {
      return false;
    }

    return true; // Include all nodes by default
  }
};

// Execute layout with filter options
await tools.autoLayout(layoutOptions);
Layout Only for the Specified Container
The plugin supports recursive layout for a specified container and automatically handles node arrangement within the container:
// Execute layout for specific container
await autoLayoutService.layout({
  containerNode: specificContainerNode,
  enableAnimation: true,
});
FAQ
Q: How to trigger auto layout during initialization?
A: Call the ctx.tool.autoLayout() method after the canvas rendering is complete to trigger auto layout.
const editorProps = useMemo(() => ({
  onAllLayersRendered: (ctx) => {
    ctx.tool.autoLayout({
      enableAnimation: false, // Disable animation during initialization for better user experience
    }
    );
  }
}), []);
Q: How to implement custom layout directions?
A: Method 1: Register AutoLayout plugin in EditorProps and control layout direction through the rankdir parameter:
import { createFreeAutoLayoutPlugin } from '@flowgram.ai/free-auto-layout-plugin';

const editorProps = useMemo(() => ({
  plugins: () => [
    createFreeAutoLayoutPlugin({
      layoutConfig: {
        rankdir: 'TB', // Top to bottom
        // rankdir: 'LR', // Left to right (default)
        // rankdir: 'RL', // Right to left
        // rankdir: 'BT', // Bottom to top
      }
    })
  ]
}), []);
Method 2: Pass layout configuration through the layoutConfig parameter when calling the autoLayout method:
const tools = usePlaygroundTools();
const playground = usePlayground();

const handleAutoLayout = async () => {
  await tools.autoLayout({
    layoutConfig: {
      rankdir: 'TB', // Top to bottom
      // rankdir: 'LR', // Left to right (default)
      // rankdir: 'RL', // Right to left
      // rankdir: 'BT', // Bottom to top
    }
  });
}
Q: How to optimize layout animation stuttering?
A: For complex workflows, it's recommended to disable animation or reduce animation duration:
layoutOptions: {
  enableAnimation: false, // Disable animation
  // or
  animationDuration: 150, // Reduce animation duration
}
